The Ultimate Toolbox for creating
amazing web sites!
Badges
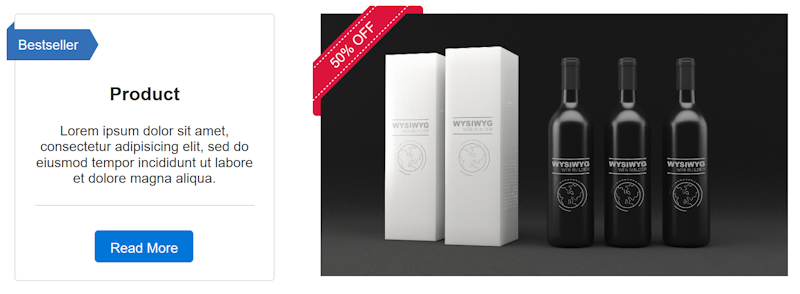
A "badge" is a small graphic, text or symbol used that can be used to add additional information to the web site elements. For example, showing if a product is available, promoting a discount, displaying a user's achievements, or indicating how popular a product is. A Badge can be applied to almost any WWB object.
Styles
Here are some common examples of how badges can be used in web design:
Product Badges: E-commerce websites often use badges to indicate product features, such as "New," "Sale," "Bestseller," or "Limited Stock."
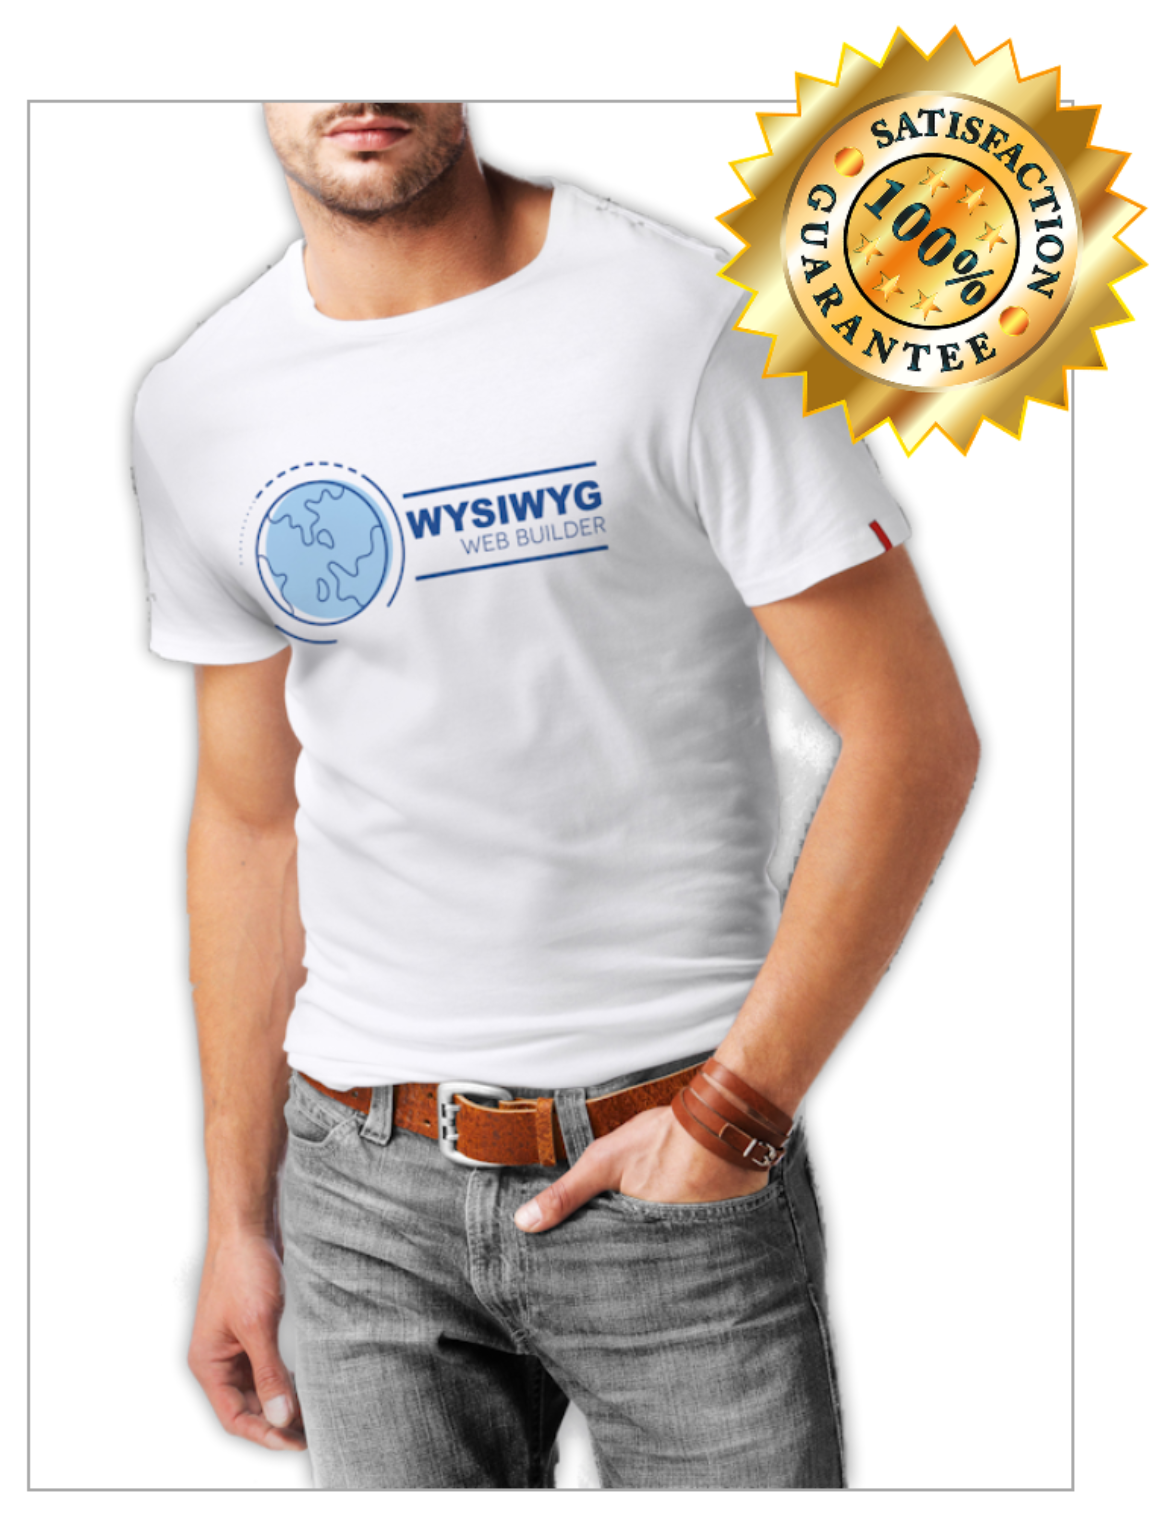
Security Badges: Websites may display security badges to assure users that their information is being protected, which can enhance trust and credibility.
User Badges: Social media platforms and online communities often use badges to recognize user achievements or activity levels, like "Verified," "Moderator," or "Top Contributor."
Rating Badges: To showcase user ratings or reviews, websites may use badges to display star ratings or other indicators of quality.
Notification Badges: To alert users to new messages, updates, or notifications, websites often use badges with numbers or notification icons.
Certification Badges: Educational and professional websites may use badges to signify the completion of courses or the achievement of certifications.

Demo
The Badge object has several types: Arrow, Bookmark, Bootstrap-like badge, Flag, Image, Stripe, Triangle, Ribbon and Shape (with more than 200 shapes). Badges can include both text and icons, and they can also incorporate animations to capture the visitor's attention.
How to use Badges?
Badges work a little bit different than other objects, because it's not a stand-alone object. Instead, it is normally linked to another object.
Step 1
Add the Badge object to the page.
Step 1
Add the Badge object to the page.


The 'z-index' property determines how the badge is stacked within the target object. In certain situations, like when using badges alongside layers or layout grids, the badge might end up positioned behind other elements. To bring it forward and make it visible, you can set a higher z-index value. You can also add some depth to the badge by using the shadow properties.

You can now also use custom images for endless possibilities!


Step 2
In the properties of the Badge, choose the object you want to link the badge to via the 'Target object' property. The position specifies on which side of the object the badge will be displayed. The offset properties can be used to add specify the exact location of the badge. For example, some badge styles (like the arrow and ribbon) look better when they have a negative offset.
Note: Once you've linked the badge to another object, it won't be movable on its own anymore. It will move together with the target object.